Tapestry is a cornerstone of our site, and yet until now we've more or less neglected to provide a decent how-to on this classic form of needlecraft. It's been going on as far back as Ancient Greece, and is still being made popular today by artists like Grayson Perry and Francesca Lowe. There's certainly enough reason to tempt one into tapping into the craftform, and we've put together a beginner's guide to tapestry kits to help you start out.
What is Tapestry?
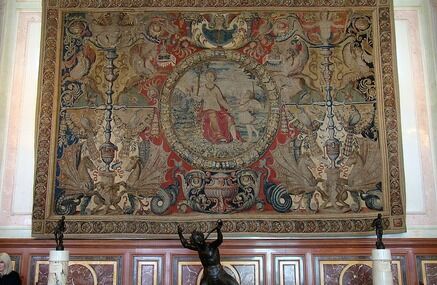
We might have covered this somewhere else on the blog, but to wind the scene it might be good to explain how Tapestry differs to other forms of needlecraft. The type of tapestry we sell alongside our cross stitch kits differs to 'real' Tapestry, which is woven - typically on a loom. In both styles, a picture effect is created by interlocking lines of fabric in two directions onto an open-weave canvas.
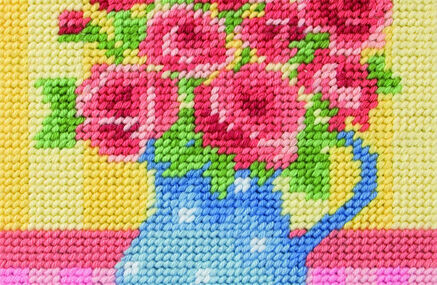
Tapestry relies on only a few basic types of stitch, the two main forms being 'Half Cross Stitch' and 'Tent' or 'Continental Stitch', and doesn't require many materials to get started. Aside from a pair of scissors and a frame to keep your pattern taught as you're working on it, our tapestry kits come supplied with all the essentials: a blank needlepoint canvas, fabric, needles and a design image/chart. Below is a basic run through of how to set up your tapestry, and how to make those first few stitches:
Set-up
If you are using a needlepoint frame, attach your canvas to it by rolling it around the top and bottom scroll rods, shortening the design area to fit until it's nice and taught to work on. Regardless of whether you use the frame, you should bind the edges of your canvas with masking tape to stop the edges from unravelling.
You should ideally start stitching in an are a with the lowest amount of colour, or most detail; then you can work on the larger areas that surround them. Cut the skein on your fabric where it loops over, keeping the tags on to keep everything together. Take a single string from the other loop (you ideally want it in lengths of 20"/50cm). Thread it into your needle and, if you so wish, tie a waste knot at the end of the fabric that hasn't been attached to the needle.
The First Stitch
The half-cross stitch doesn't cover the canvas particularly well - in fact using it at length it distorts the shape of your work - but it's fine for small areas and ideal for learning. Start at the top left of your canvas or block of colour, and work from left to right in a row before returning, as shown in the diagram. The vertical stitch should be on the 'wrong side' of the canvas, as it were.
If you decide to go with the tent or continental stitch, the diagonal stitch now goes on the wrong side of your canvas. You start at the top right, and work from right to left before returning. The continental stitch is favoured even by those experienced in tapestry because, even though it too can distort the shape, it feels intuitive, can fill in tight spots on the pattern and can cover the canvas well.
There are many other stitches to used as your technique becomes more advanced, such as basketweave, aubusson, bargello, brick and diagonal mosiac. A great step-by-step for each of these can be found on this post by DMC Creative.
Don't forget, to help you get your start in tapestry we have a fantastic selection of beginner's kits for crafters of all ages to make their first mark!
What do you think is the most important things to keep in mind when you begin your first Tapestry piece? Let us know here in the comments, and, if you still have your first ever finished bit of needlepoint lying around still, we'd love for you to share it with us on Facebook, Twitter and Google+.