This may surprise you to know, but I’ve never completed a cross-stitch kit before! It’s something I’ve been wanting to do for ages; having tried long stitch, embroidery as well as a few other small needlecraft projects. Well, I’ve finally bitten the bullet and bought my first counted cross stitch kit and I can’t wait to get started! Over a number of blogs, Facebook and Twitter, I’ll be sharing my progress with you all.
However, like with any craft project, I know just how important it is to be prepared, so today I’ll be giving you my top three tips for before you even open any counted cross stitch kit!
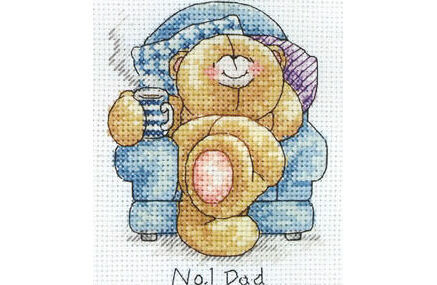
- If, like me, this is your first attempt, pick a simple design! Also, make sure that it’s one you really like, so you don’t get bored of it. I went for the Cozy Cub kit. While it’s one I love, I don’t think it’s all that simple!
- Invest in an embroidery hoop. These keep your material nice and taut, ensuring that your stitches are even and neat. Just be careful not to stretch the fabric too much, as this will distort the weave of the fabric. Also, don’t leave your fabric on the hoop for too long or whenever you’re not stitching, as it may mark or damage the material.
- Prepare your workspace. Preferably, you should be working in bright, natural daylight, as this causes the least amount of eyestrain. If this isn’t possible, invest in a lamp as you’ll need bright light to easily see the holes in the aida. We have a great range of magnifying lamps that will really help with this.
Now that you have the right design and have everything you need, you’re ready to open your
counted cross stitch kit and prepare your threads and fabric! I have plenty of tips for this next step, too, so keep your eyes open for tomorrow’s blog.
Don’t forget, if you have any needlecraft tips of your own, don’t keep them to yourself! Leave a comment below, post them on our Facebook or send us a Tweet to @PastImp.